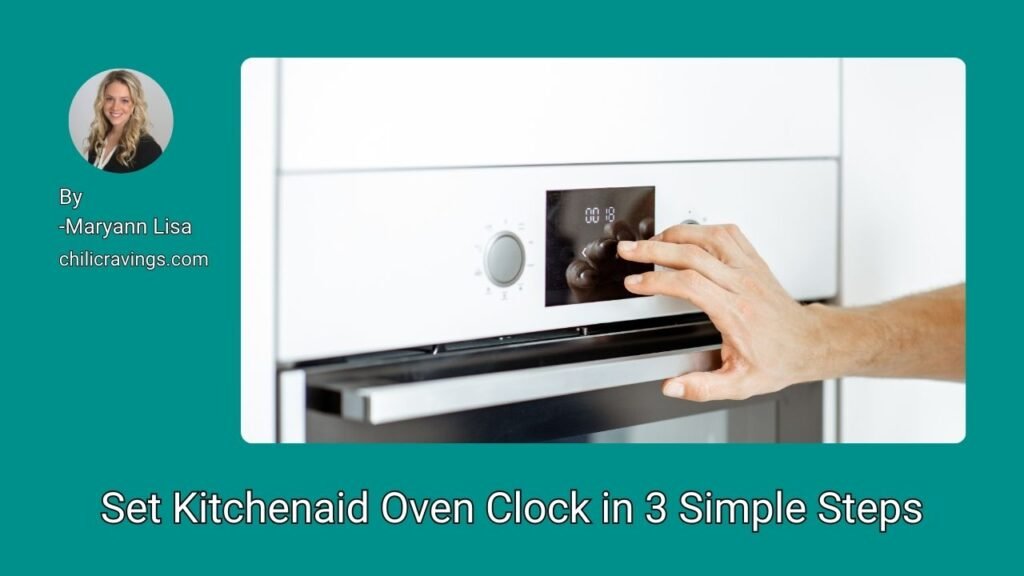
Setting the clock on your Kitchenaid oven is easy. You can do it in just three simple steps.
This guide will show you how. Most people use their oven every day. But, not everyone knows how to set the clock. A properly set oven clock helps you keep track of cooking times. It can also make your kitchen look more organized.
The good news is that adjusting the clock is quick and simple. You don’t need any special tools or skills. Just follow these three steps, and your Kitchenaid oven clock will be set in no time. Keep reading to learn how to do it yourself.
Gather Necessary Tools
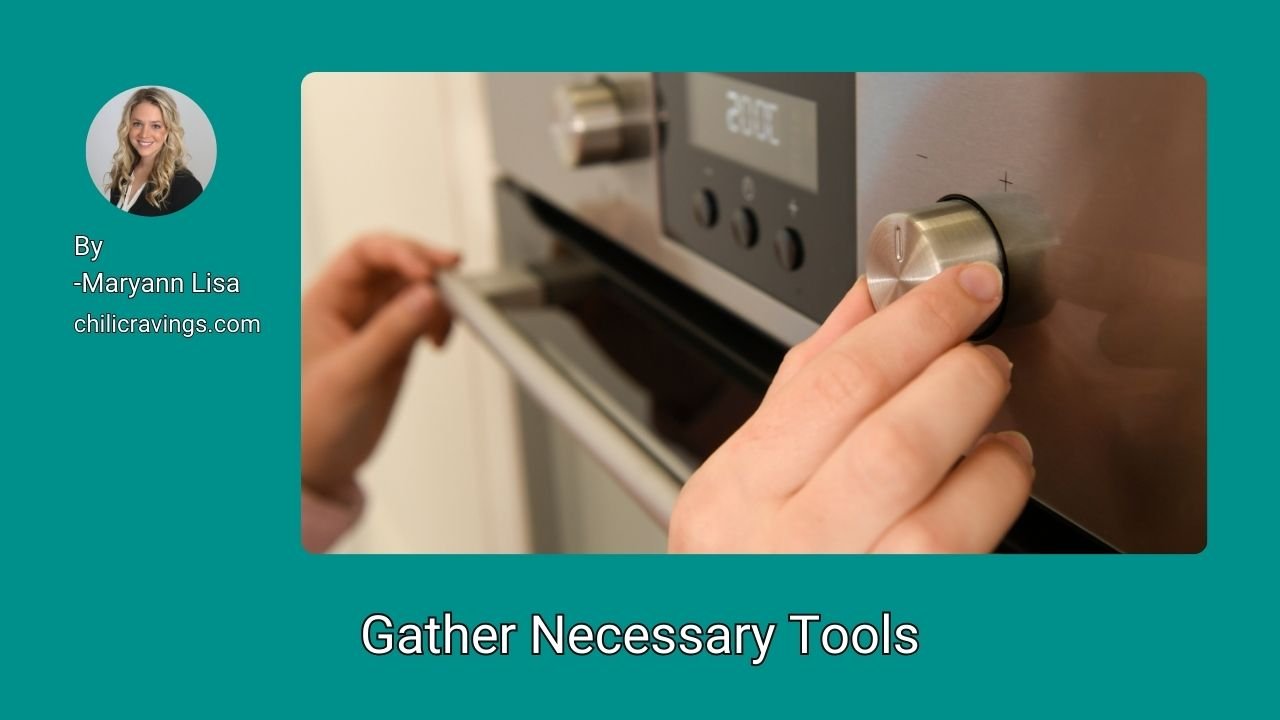
Setting your Kitchenaid oven clock is easy, but you need the right tools. Gathering these tools first ensures a smooth process.
Required Items
Before starting, gather the following items to set your Kitchenaid oven clock:
- Instruction manual: This provides specific details for your oven model.
- Small flashlight: Helps you see clearly, especially in low light.
- Clean cloth: Wipe the control panel to ensure visibility.
- Pen and paper: Note down steps if needed.
Safety Precautions
While setting your oven clock, follow these safety precautions:
- Unplug the oven: Ensure it’s unplugged to avoid any electrical hazards.
- Dry hands: Make sure your hands are dry to prevent electric shocks.
- Avoid wet areas: Ensure the area around the oven is dry.
- Use a sturdy stool: If you need to reach high, use a stable stool.
Following these steps and precautions ensures a safe and efficient process.
Step 1: Access The Clock Settings
Setting the clock on your Kitchenaid oven doesn’t have to be hard. With just three simple steps, you can easily set the time. The first step is accessing the clock settings. This involves locating the control panel and understanding the clock button.
Locate The Control Panel
To begin, you need to locate the control panel on your Kitchenaid oven. The control panel is usually found on the front of the oven, just above the door. It contains several buttons and displays.
Look for a section labeled “Settings” or “Options.” This is where you’ll find the clock settings. Make sure the oven is plugged in and powered on before you start.
Understanding The Clock Button

Next, you need to understand the clock button on the control panel. The clock button is often marked with a clock icon or the word “Clock.” It’s usually located near the center of the control panel.
Press the clock button to enter the clock settings mode. Once in this mode, you can use the arrow buttons to adjust the time. Some models may have a touchscreen instead of physical buttons.
Follow these steps, and you’ll have your Kitchenaid oven clock set in no time. Remember, knowing where to find the control panel and how to use the clock button is key.
Step 2: Set The Time
Setting the time on your Kitchenaid oven is essential. This ensures accurate cooking and baking. In this step, we will cover how to set the time. Follow these simple instructions to adjust the hours and minutes. Let’s dive right into it!
Adjusting Hours
To begin, press the “Clock” button on your Kitchenaid oven. The hour digits will start blinking. Use the “+” or “-” button to adjust the hour. Make sure to set the correct hour based on your local time. Once done, press “Clock” again to save the hour setting.
Setting Minutes
After setting the hour, the minute digits will blink. Use the “+” or “-” button to adjust the minutes. Ensure the minutes are accurate for precise cooking times. After setting the minutes, press “Clock” to confirm and save the time. Your Kitchenaid oven is now set with the correct time.
Step 3: Confirm And Save
Setting the clock on your Kitchenaid oven is easy. You are almost done. The final step is crucial. It ensures everything is correct. Here’s how to confirm and save the time setting.
Finalizing The Time
After setting the correct time, you need to finalize it. Look for the “Set” or “Clock” button. Press it once. This action locks in your chosen time. The display should stop blinking. This means the time is now set.
Checking Accuracy
Once you have finalized the time, double-check it. Ensure the displayed time matches the current time. Look at another clock or your phone. If the time is correct, great! If not, repeat the steps to adjust it.
| Step | Action |
|---|---|
| 1 | Press the “Set” or “Clock” button. |
| 2 | Check the display stops blinking. |
| 3 | Verify the time with another clock. |
Follow these steps, and your Kitchenaid oven clock will be set correctly. Enjoy your perfectly timed cooking sessions!
Troubleshooting Common Issues

Dealing with a malfunctioning KitchenAid oven clock can be frustrating. Several issues can arise, including the clock not responding or displaying the wrong time. Understanding how to troubleshoot these common problems can save you time and stress.
Clock Not Responding
Sometimes, the KitchenAid oven clock doesn’t respond to your inputs. First, check if the oven is properly plugged in. Ensure the power outlet is functioning by testing it with another device. If everything is connected and the clock still won’t respond, try resetting the oven. To do this, unplug the oven for a minute and then plug it back in. This reset can often resolve minor glitches.
Incorrect Time Display
If the clock shows the wrong time, it may need resetting. Check the user manual for specific instructions. Begin by pressing the “Clock” button. Use the “+” and “-” buttons to adjust the time. Confirm your settings by pressing the “Clock” button again. If the problem persists, there may be an internal issue. Contact customer support for further assistance.
Maintenance Tips
Keeping your Kitchenaid oven clock in top shape is essential. Regular maintenance ensures accurate timekeeping and optimal performance. Here are some simple tips to help maintain your oven clock.
Regular Checks
Check the oven clock regularly. Look for any irregularities or errors in time display. A consistent time display ensures your cooking schedule remains uninterrupted.
Inspect the clock buttons for proper functioning. Press each button to see if they respond correctly. Faulty buttons can hinder setting the correct time.
Updating For Daylight Saving Time
Update your oven clock during daylight saving time changes. This keeps your cooking schedule accurate.
Adjust the time forward or backward as needed. Follow the same steps used to set the clock initially. This keeps your Kitchenaid oven clock aligned with the current time.
Frequently Asked Questions
How Do I Set The Clock On My Kitchenaid Oven?
To set the clock, press the “Clock” button, then use the number pad to enter the time. Confirm by pressing “Start. “
Why Is My Kitchenaid Oven Clock Flashing?
A flashing clock usually indicates a power interruption. Reset the clock by following the steps in the manual.
Can I Change The Clock Format On My Kitchenaid Oven?
Yes, you can switch between 12-hour and 24-hour formats. Refer to your user manual for specific instructions.
What If My Kitchenaid Oven Clock Won’t Set?
If the clock won’t set, try resetting the oven by unplugging it for a few minutes, then plugging it back in.
Conclusion
Setting your Kitchenaid oven clock is easy with these three steps. Now, you can keep track of cooking times accurately. No more guesswork. Enjoy more time cooking and less time adjusting settings. Simple steps make a big difference in your kitchen routine.
Follow the guide, and your oven clock will always be on time. Cooking becomes more enjoyable with the right tools. Ready, set, cook! Your oven is now perfectly set. Happy cooking!