Setting the clock on your Kitchenaid oven is simple. It takes just a few minutes.
With our guide, you’ll have it done in no time. Having the correct time on your oven is important for accurate cooking. Whether you’re baking or roasting, timing is key. Many people find setting the clock tricky. But, it doesn’t have to be.
We’ll break it down into three easy steps. This way, you can spend more time cooking and less time fiddling with buttons. Ready to get started? Let’s make sure your Kitchenaid oven clock is set perfectly.
Introduction To Kitchenaid Oven Clock

Setting up the clock on your KitchenAid oven is essential. It helps ensure your meals cook perfectly. This guide will walk you through the process in three simple steps.
Importance Of Setting The Clock
A correctly set clock on your oven ensures accurate cooking times. It helps in baking and roasting. Without it, you might overcook or undercook your meals. A set clock also helps you keep track of your cooking schedule. It’s a small step that makes a big difference.
Tools Needed
You don’t need much to set the KitchenAid oven clock. Just your oven manual. And maybe a chair to comfortably reach the clock settings. That’s it. Let’s get started!
Step 1: Accessing The Clock Settings
Setting up the clock on your KitchenAid oven is easy. Follow these steps to ensure your oven displays the correct time.
Locating The Control Panel
First, find the control panel on your KitchenAid oven. It’s usually above the oven door. The panel has several buttons and a display screen.
Look for the buttons related to settings or options. These may be labeled “Settings,” “Options,” or something similar. Once you locate these buttons, you’re ready to move to the next step.
Entering Clock Setup Mode
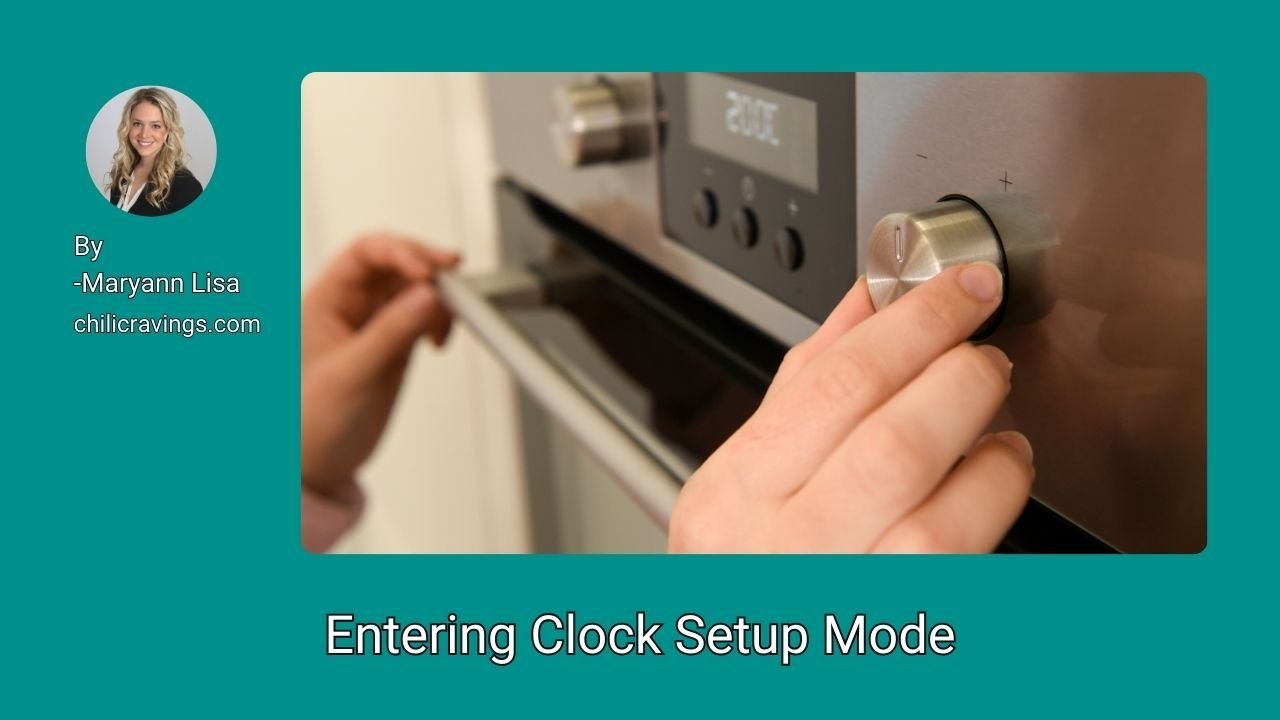
Press and hold the “Settings” or “Options” button. This action will enter the clock setup mode. The display screen should show the current time or a prompt to set the time.
If the screen does not change, consult your oven’s manual. Some models may have different button combinations for entering setup mode.
Once in clock setup mode, you can proceed to set the time. This ensures that your oven’s clock is accurate and ready for use.
Step 2: Setting The Correct Time
Setting the correct time on your Kitchenaid oven is an important step. This ensures that all your cooking schedules and timers work accurately. In this section, we will guide you through Step 2: Setting the Correct Time. Follow these simple steps to adjust the hours and minutes on your Kitchenaid oven clock.
Adjusting Hours
First, press the “Clock” button on your oven’s control panel. The display will start to blink, indicating that you can now adjust the time. Use the up and down arrows to set the correct hour. Remember to pay attention to the AM/PM indicator. Once the hour is set, press the “Clock” button again to confirm.
Adjusting Minutes
Now that the hours are set, it’s time to adjust the minutes. Press the “Clock” button once more. The minute digits will start blinking. Use the up and down arrows to set the correct minutes. After setting the minutes, press the “Clock” button again to confirm the time.
By following these simple steps, you’ll have the correct time displayed on your Kitchenaid oven. This will help you in cooking and baking accurately.
Step 3: Saving And Exiting
Setting the clock on your Kitchenaid oven can seem complicated at first. But, with the right steps, it becomes straightforward. Step 3: Saving and Exiting is the final step. It ensures the clock settings are saved correctly. This step involves confirming the time and exiting the setup mode.
Confirming The Time
After setting the desired time, it’s crucial to confirm it. Double-check the time displayed. Ensure it matches the correct current time. This small step prevents future confusion. A properly set clock helps in accurate cooking times.
Exiting The Setup Mode
Once the time is confirmed, exit the setup mode. This saves your settings. Locate the ‘Clock’ or ‘Start’ button. Press it to finalize and save the time. The display should now show the current time. Your Kitchenaid oven clock is now set.
Troubleshooting Common Issues
Setting up the clock on your Kitchenaid oven should be straightforward. Sometimes, issues can arise during the process. Here, we address common problems like unresponsive controls and incorrect time display.
Unresponsive Controls
One common issue is unresponsive controls. If the buttons don’t work, check if the oven is plugged in. Make sure there is power to the outlet. Try resetting the breaker. Hold the “Start” button for five seconds. This can reset the control panel. If the problem continues, consult the user manual. It may be time to contact customer service.
Incorrect Time Display
Another issue is the incorrect time display. Double-check you have set AM or PM correctly. If the time still displays wrong, try resetting the clock. Press “Clock” and hold for three seconds. Enter the correct time using the number pad. Press “Start” to confirm. If the time changes on its own, there may be a software issue. Again, refer to the user manual for guidance. Contact customer service if needed.
Maintenance Tips
Keeping your Kitchenaid oven clock in good shape is easy. Regular maintenance ensures it works well and lasts longer. Follow these simple tips to maintain your oven clock.
Regularly Check Time Accuracy
Make sure to check the clock’s time accuracy often. A minor time drift can affect your cooking schedules. Adjust the time if you notice any discrepancies. This helps keep your cooking times precise.
Firmware Updates
Keep the oven’s firmware up-to-date. Firmware updates fix bugs and improve the clock’s performance. Check the Kitchenaid website for updates. Follow the instructions to install them. This ensures your oven clock runs smoothly.
Benefits Of Proper Clock Setup
Setting up the clock on your Kitchenaid Oven isn’t just about keeping time. Proper clock setup offers several practical benefits that can make your kitchen tasks easier and more efficient. Let’s explore some of the key advantages.
Enhanced Cooking Precision
A properly set clock ensures your oven’s timer functions accurately. This precision is crucial for recipes that require exact cooking times. Missed or incorrect timings can ruin your dishes. With an accurate clock, you get consistent results every time.
Efficient Kitchen Management
An accurate oven clock helps you manage your cooking schedule better. You can plan meal prep and cooking times more effectively. This means less stress and more enjoyment in the kitchen. It also helps you keep track of multiple dishes cooking simultaneously.
Frequently Asked Questions
How Do I Set The Clock On A Kitchenaid Oven?
To set the clock, press the “Clock” button, then use the number pads to enter the time. Press “Start” to confirm.
Why Is My Kitchenaid Oven Clock Blinking?
The clock may blink due to a power outage or reset. Set the clock again to stop the blinking.
Can I Change The Clock Format On My Kitchenaid Oven?
Yes, you can switch between 12-hour and 24-hour formats by pressing and holding the “Clock” button for a few seconds.
What If My Kitchenaid Oven Clock Is Not Working?
If the clock isn’t working, check if the oven is properly plugged in. You might also need to reset the oven.
Conclusion
Setting up your Kitchenaid oven clock is simple. Follow these three easy steps. First, press the “Clock” button. Second, use the number pad to set the time. Finally, confirm by pressing “Start. ” Your oven clock is now ready. Enjoy precise cooking with your Kitchenaid oven.
Remember, accurate time helps in perfect baking. Happy cooking!