Costco Garlic Drumsticks are a quick and tasty meal option, offering a flavorful garlic seasoning that cooks perfectly in the oven, air fryer, or stovetop in just 20 minutes.
Ever craved a quick, flavorful meal that feels like a gourmet experience? Costco Garlic Drumsticks are here to save the day! Renowned for their savory garlic seasoning and succulent texture, these drumsticks are a family favorite. Whether you’re hosting a dinner or looking for a speedy solution to your weeknight meals, this recipe guide will help you transform these pre-packaged wonders into a restaurant-worthy dish—all in just 20 minutes.
This article dives into step-by-step instructions for cooking Costco Garlic Drumsticks, explores preparation tips, and offers serving suggestions. You’ll also learn how to avoid common mistakes, elevate the flavor, and create a balanced meal. Ready to become the star of your kitchen? Let’s get started!
Why Choose Costco Garlic Drumsticks?
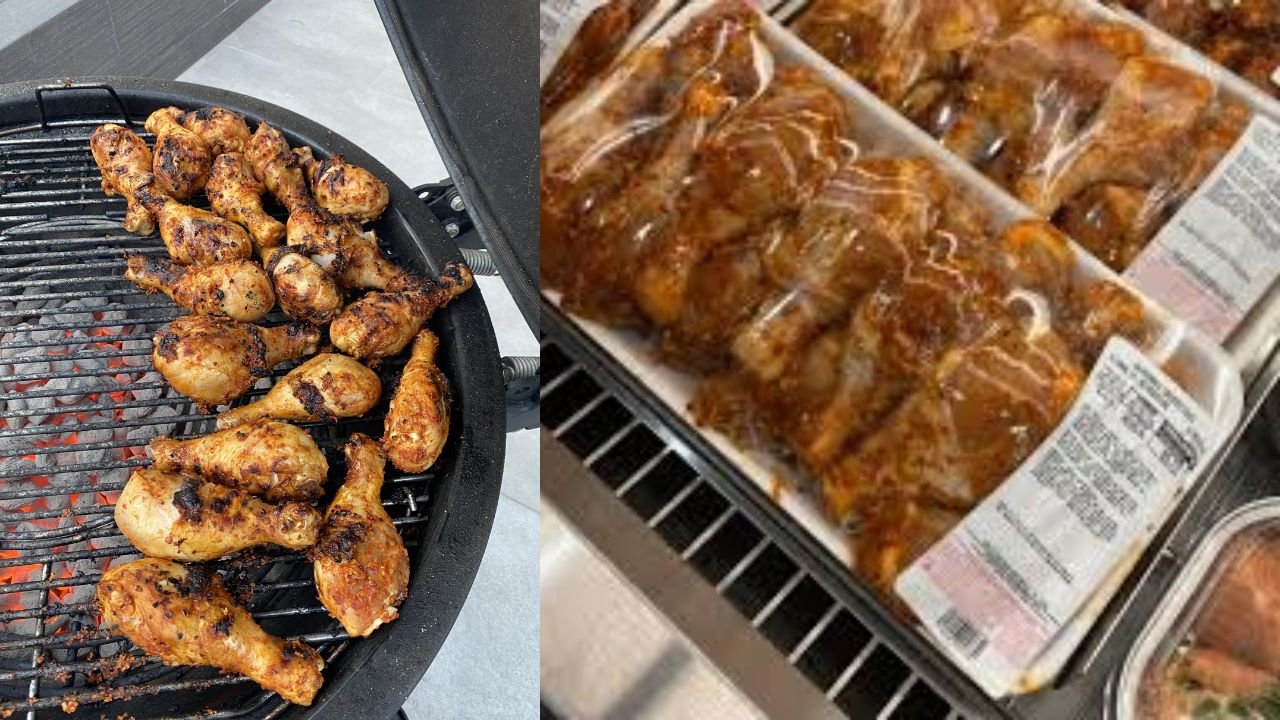
- Convenience: Pre-seasoned and ready to cook.
- Flavor: Bursting with rich garlic and herb seasoning.
- Versatility: Suitable for multiple cooking methods like oven baking, air frying, or stovetop frying.
- Nutrition: High in protein, making it a healthy option for busy families.
How to Cook Costco Garlic Drumsticks: Step-by-Step Guide
Cooking Costco Garlic Drumsticks is effortless, but the right method can make all the difference. Below are three foolproof techniques to prepare this delicious dish in 20 minutes or less.
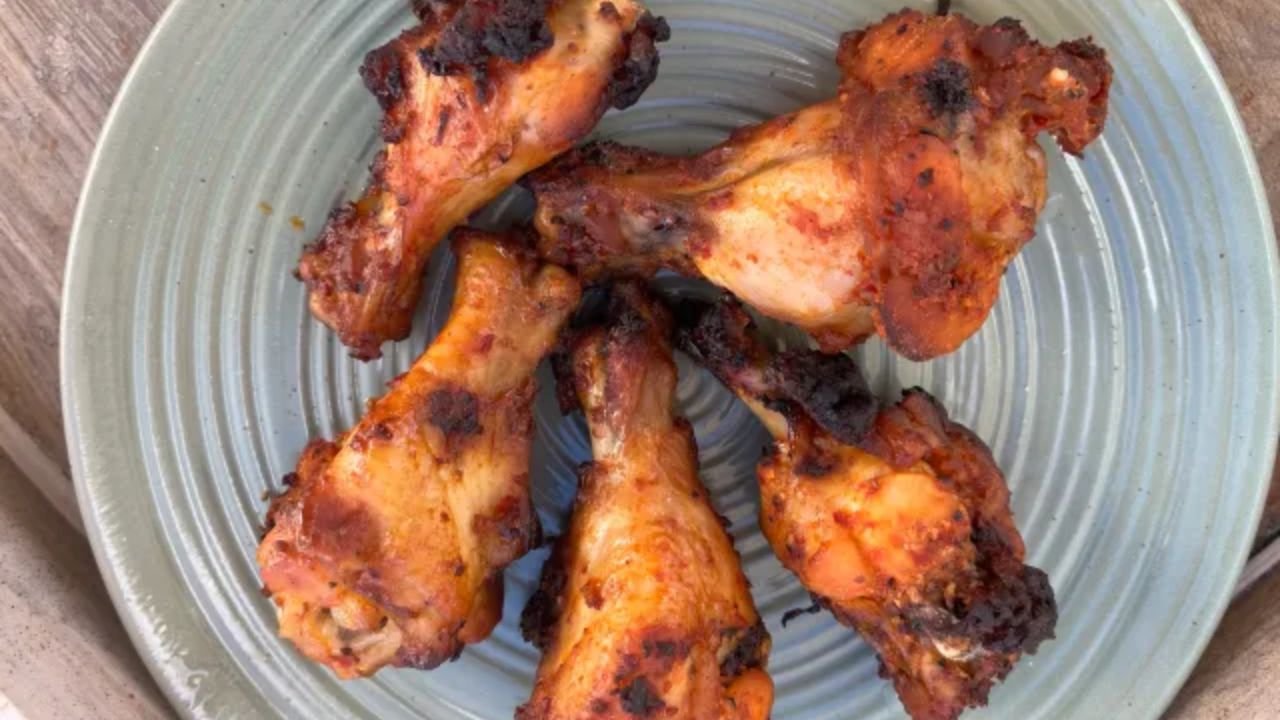
1. Oven-Baking Method
Oven-baking is perfect for crispy, evenly cooked drumsticks.
- Preheat the oven: Set to 400°F (200°C).
- Prepare the drumsticks: Arrange the drumsticks on a parchment-lined baking tray. Ensure they’re spaced apart for even cooking.
- Bake: Cook for 18–20 minutes, flipping halfway through. Use a meat thermometer to check the internal temperature—it should reach 165°F (74°C).
- Rest: Allow the drumsticks to rest for 2 minutes before serving.
2. Air Fryer Method
For a healthier alternative with a crispy texture, try air frying.
- Preheat the air fryer: Set to 375°F (190°C).
- Arrange the drumsticks: Place them in the air fryer basket in a single layer.
- Cook: Air fry for 15–18 minutes, shaking the basket halfway through to ensure even crispiness.
- Serve: Let them cool slightly before serving.
3. Stovetop Skillet Method
This method enhances the garlic flavor by searing the drumsticks in a hot skillet.
- Heat a skillet: Add a tablespoon of olive oil and warm over medium heat.
- Cook the drumsticks: Sear each side for 6–8 minutes until golden brown and fully cooked.
- Check doneness: Ensure the internal temperature reaches 165°F.
- Finish with herbs: Add fresh parsley or a squeeze of lemon for added flavor.
Tips for Perfect Costco Garlic Drumsticks
Marination and Enhancements
While Costco Garlic Drumsticks come pre-seasoned, you can elevate their flavor:
- Add a sprinkle of paprika or rosemary for a smoky or herby twist.
- Marinate in olive oil, garlic paste, and lemon juice for an extra burst of flavor.
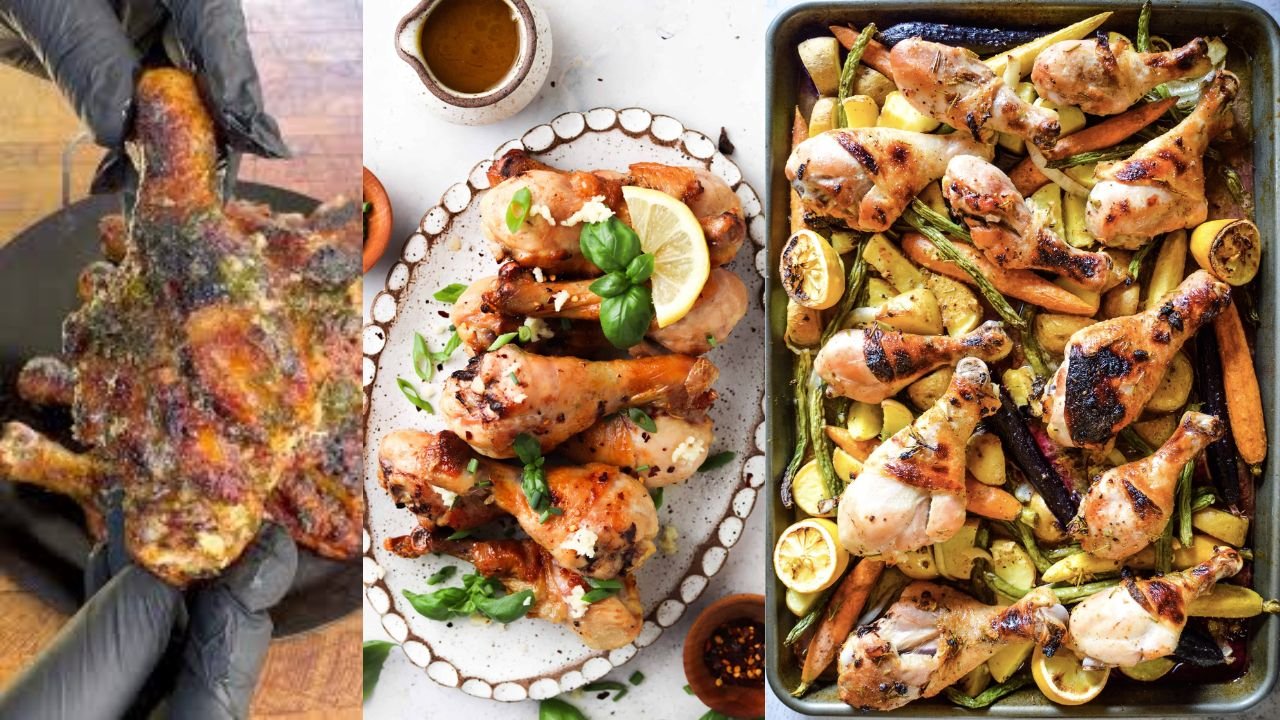
Pairing Suggestions
Complement your drumsticks with:
- Vegetables: Roasted asparagus, carrots, or zucchini.
- Grains: Quinoa, brown rice, or couscous.
- Dips: Garlic aioli, ranch, or spicy sriracha sauce.
Common Cooking Mistakes to Avoid
- Crowding the pan or tray: Leads to uneven cooking.
- Overcooking: Results in dry, chewy drumsticks. Always use a thermometer.
- Skipping rest time: Letting the drumsticks rest ensures juicier meat.
Nutritional Benefits of Costco Garlic Drumsticks
| Nutrient | Amount per Serving | Benefits |
|---|---|---|
| Protein | 24g | Aids in muscle repair and growth. |
| Calories | 180 | A low-calorie option for meals. |
| Fat | 8g | Provides energy with moderate fat. |
| Sodium | 400mg | Be mindful of sodium intake. |
By pairing Costco Garlic Drumsticks with fresh vegetables and whole grains, you can create a balanced, nutritious meal.
FAQs About Costco Garlic Drumsticks
1. How long do I cook Costco Garlic Drumsticks in the oven?
Bake them at 400°F for 18–20 minutes, flipping halfway through. Ensure they reach an internal temperature of 165°F.
2. Can I cook Costco Garlic Drumsticks from frozen?
Yes, you can! Increase the cooking time by 5–7 minutes and check the internal temperature to ensure doneness.
3. Are Costco Garlic Drumsticks healthy?
Yes! They’re high in protein and low in calories. Pair them with nutrient-dense sides for a well-rounded meal.
4. What’s the best way to reheat leftovers?
Reheat in an air fryer at 350°F for 5–7 minutes or in the oven at 375°F for 10 minutes for a crispy texture.
5. How can I add more flavor to the drumsticks?
Try marinating with extra garlic, lemon juice, and herbs or serving them with flavorful dips like tzatziki or BBQ sauce.
6. Can I use Costco Garlic Drumsticks in other recipes?
Absolutely! Shred the meat and add it to wraps, salads, or pasta for versatile meals.
7. How do I know when the drumsticks are fully cooked?
The meat should reach an internal temperature of 165°F, and the juices should run clear.
Serving Suggestions for Costco Garlic Drumsticks
To make your meal even more memorable, try these serving ideas:
- Mediterranean Platter: Pair the drumsticks with hummus, pita bread, and a Greek salad.
- Comfort Food Plate: Serve with mashed potatoes and steamed green beans.
- Game Night Spread: Include them with spicy wings, sliders, and dipping sauces.
Conclusion
Costco Garlic Drumsticks are more than just a convenience food—they’re a gateway to delicious, versatile meals. With simple preparation methods and a little creativity, you can transform this pre-packaged staple into a culinary delight in just 20 minutes. By experimenting with cooking techniques, enhancing flavors, and pairing them with complementary sides, you’ll make this dish a household favorite.
Next time you’re in a pinch for time but want a flavorful dinner, remember these tips and tricks. Your taste buds—and your family—will thank you!